
This article will show you how to install Windows 10 in EVE-NG or PNET-LAB using the qcow2 file. Also we share win10 qcow2 file download link.
Mục lục
Step 1: Download win10 qcow2
You can download the file win 10 qcow2 at the link below. Win 10 has built-in firefox browser.
Backup Link in Mega:
If you install with iso file, you can refer to the instructions in this link. In our article, using the available qcow2 file is much simpler. You can read the article combined with watching the video at the end of the article to do it faster and more accurately.
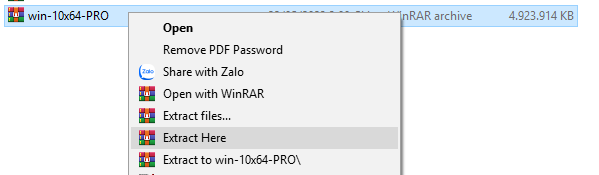
Step 2: Unzip the file, remember use Extract Here
Step 3: Move folder win-10×64-PRO into eve-ng
You can use Filezilla or WinSCP for transfer files to eve-ng. Here are the information to enter when using Filezilla
- Host: IP login to eve-ng
- Username: root
- Password: default is eve
- Port: 22

After finish, you can click to Quickconnect. Drag and Drop folder win-10×64-PRO to /opt/unetlab/addons/qemu from left to right your screen.
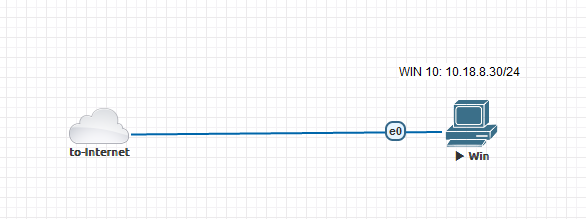
Step 4: Create a new lab and add a new Windows node
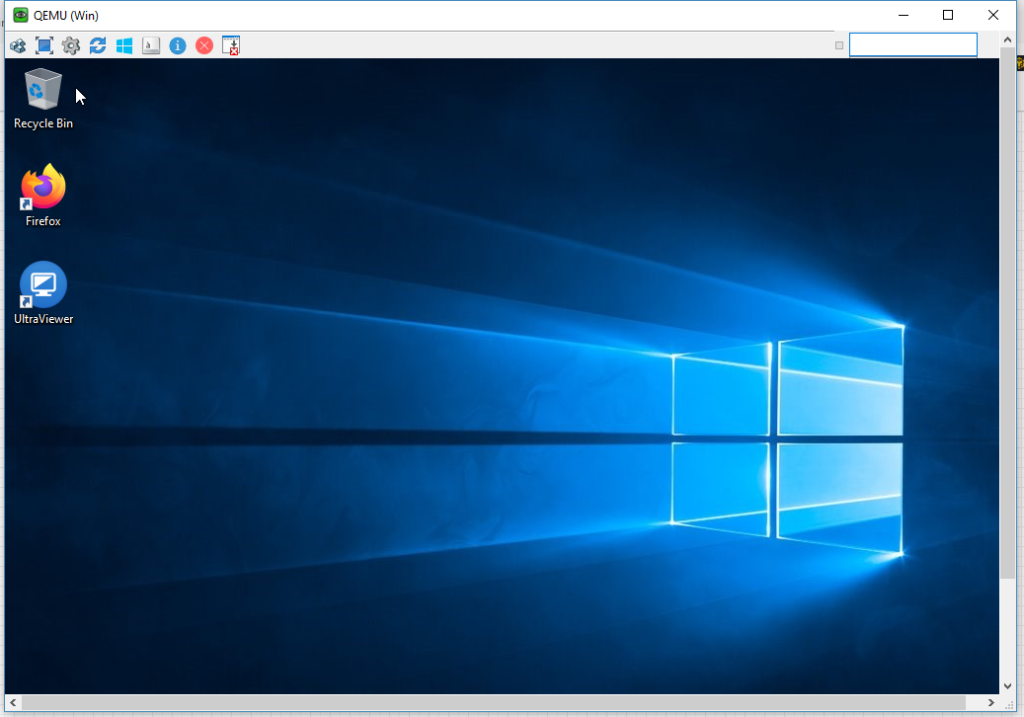
Step 5: Use vnc app to open window console
By default, opening a console window uses the vnc protocol. You can choose another protocols in the options when adding a new node. If use vnc, you can download TightVNC or UltraVNC Viewer. In our lab, we use both applications.
Watch Video in H2Ttool youtube channel:
If you have a problem or need to discuss, don’t hesitate to leave a comment below the article or video. Good Luck!